September 27, 2017 Update
|
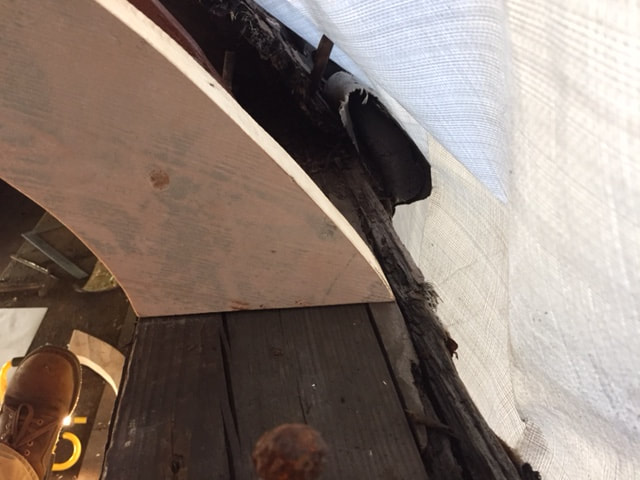
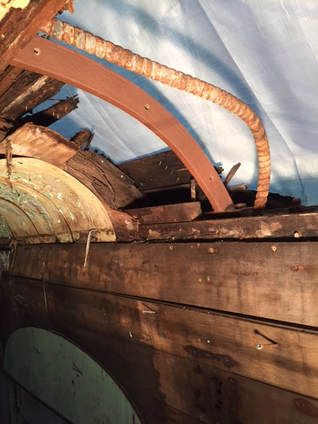
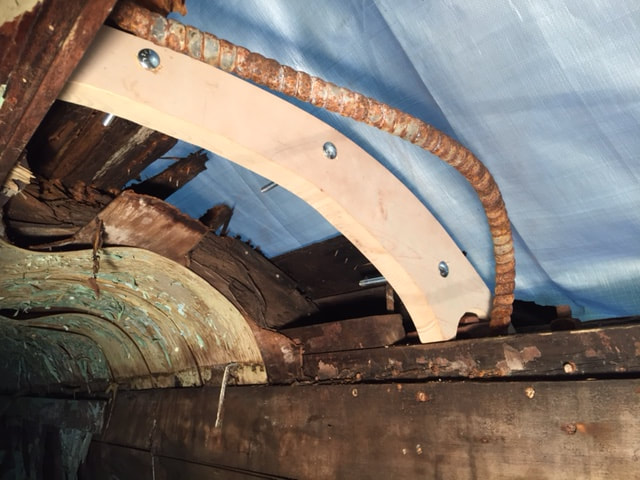
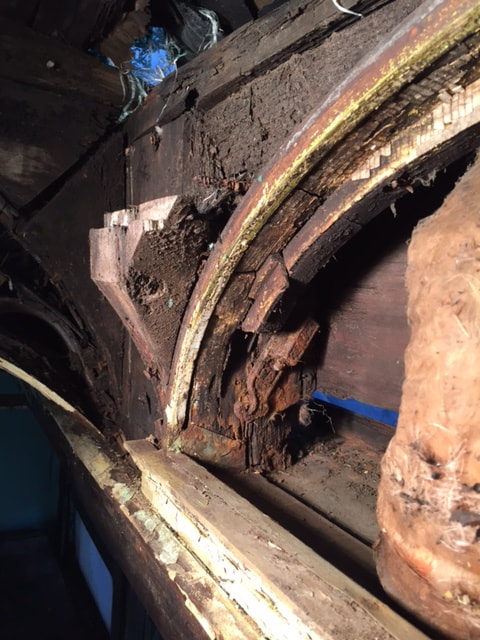
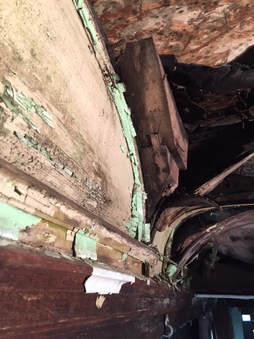
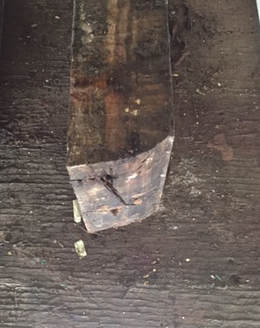
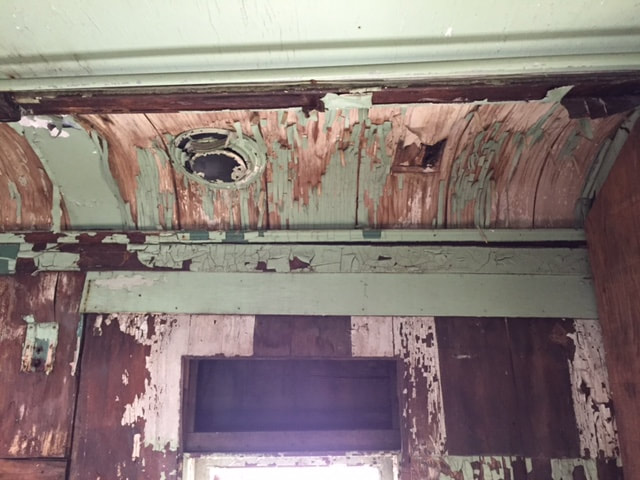
I tore apart a section of the lower clerestory roof and found another surprise. The lower clerestory carlines are notched into the top cord of the wall. This means that I have to go back and adjust some of the drawings and patterns for cutting out these pieces. The one piece I was able to get in today is one of the pieces that is bolted to the steel carline and therefore does not get the notch part. The photos below show the first piece of new wood to back into the car in a long time. This is bolted to the steel carline tech is the piece painted in primer. |
September 17, 2017 Update
|
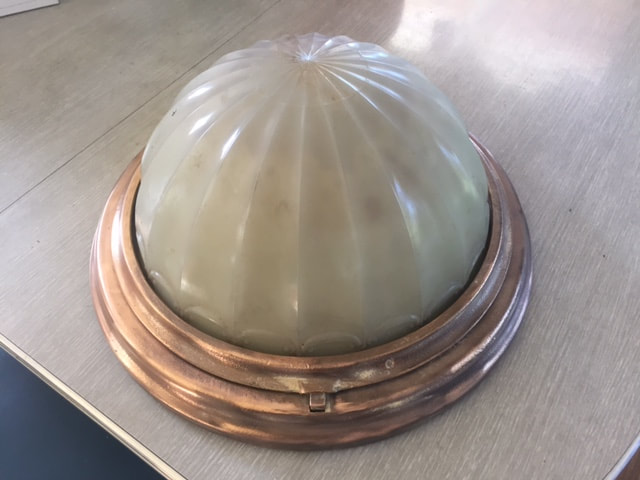
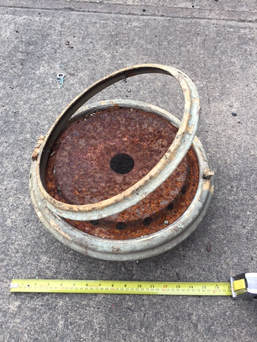
I have all the original ceiling light fixtures and one of the glass globes which is broken. The fixtures were all painted and I had no idea the surprise under the paint when a couple friends offered to clean one up. These things are cast Bronze. The castings are not cleaned up and polished which tells me that they were installed painted the colours of the inside of the car. I have found and purchased 2 globes and am in need of 5 more. They are 12" in diameter. If any one out there knows where more are, please send me a line on the contact section on this site. |
September 13, 2017 Update
|
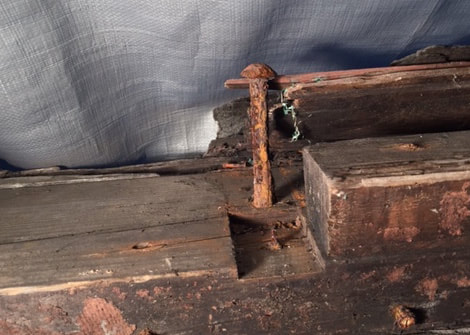
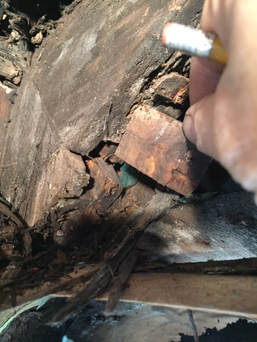
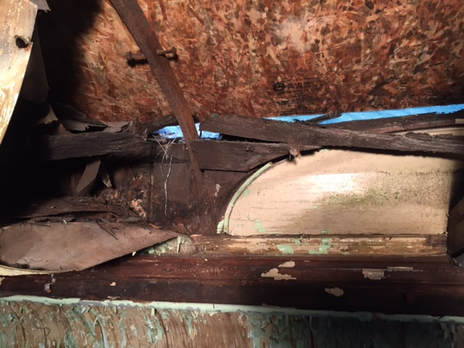
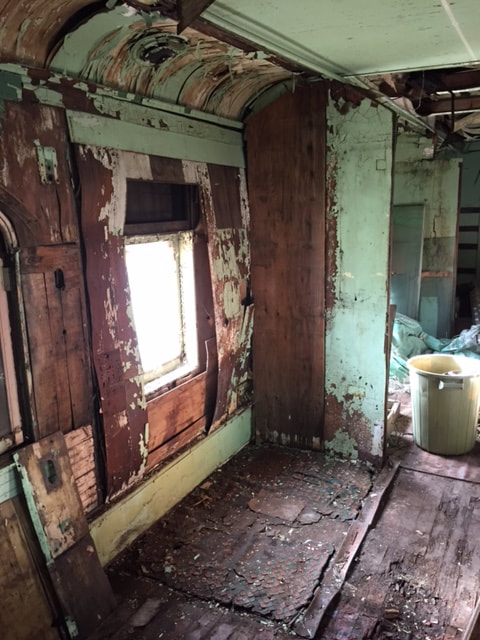
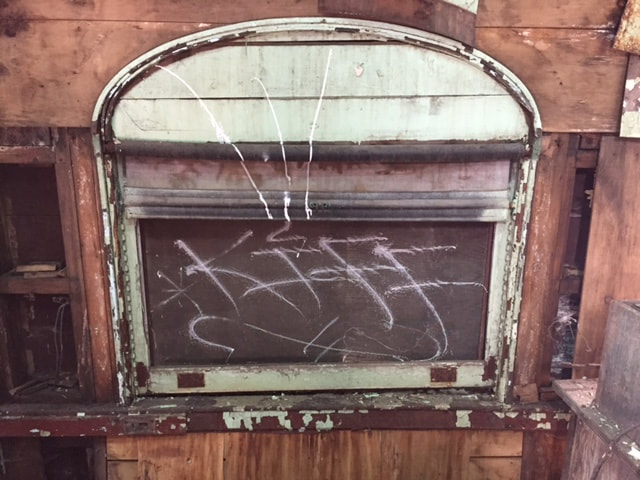
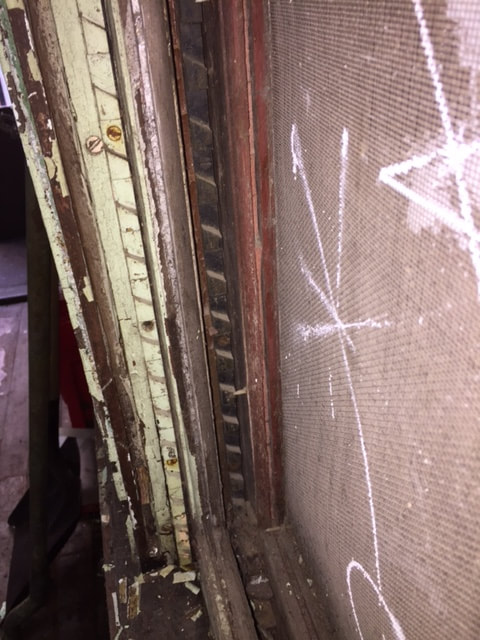
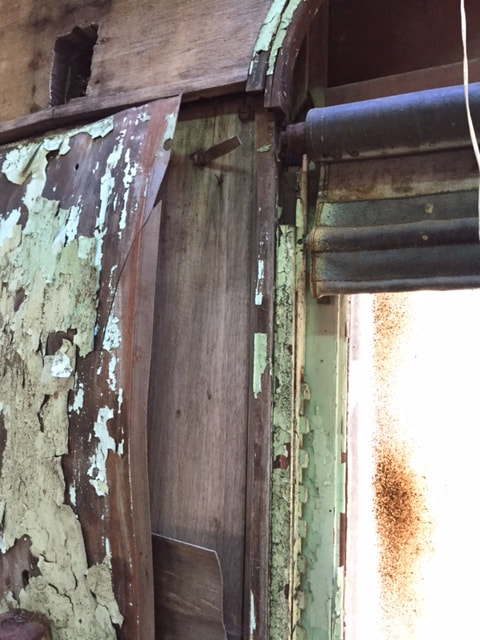
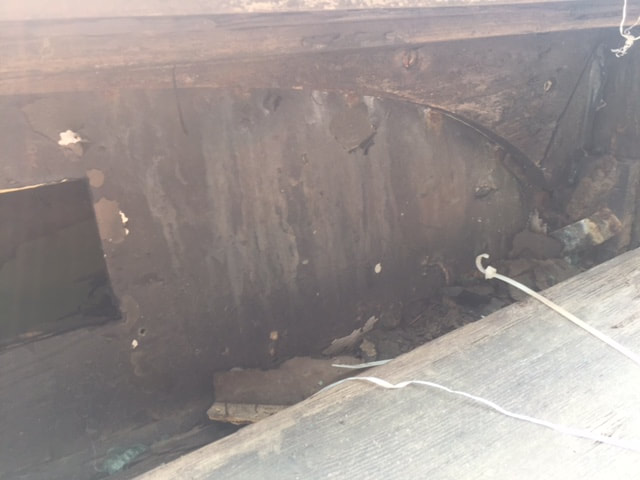
Now that a bunch of clean up is done and I can get up into the clerestory from a ladder and it is time to start pulling down the rotten veneer paneling to find out what structure is in behind it all. There is a bunch of blocking that acts as support and along the edges a place to screw into. This blocking is all attached to the outside frame of the car. Where the blocking is joined together there are nice little blocks of wood set in as extra strength where the pieces come together. I am holding one of the little blocks in one of the lower photos. In the bottom photo you can also see one of the metal strengthening carlines that go through the roof from side to side. In some places this is what is what is holding the roof together until I get some more new wood up there. In the photo to the right is one of the original window catches for the upper clerestory arched windows. Below the catch on the top of the wood is copper flashing that catches any water that would roll down the window and this drains onto the lower clerestory roof. That flashing is attached to the main beam that runs the entire length of the car and the beam has a cup in it the entire length and all the short wall blocking is rounded at the bottom to fit the space. See photo below. |
September 9, 2017 Update
|
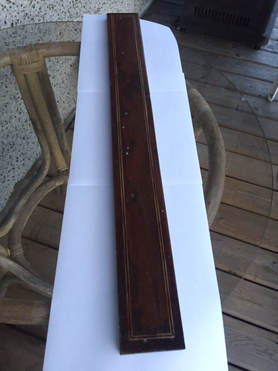
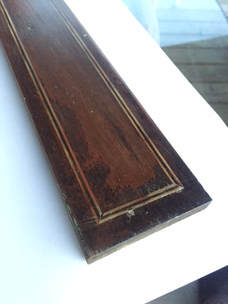
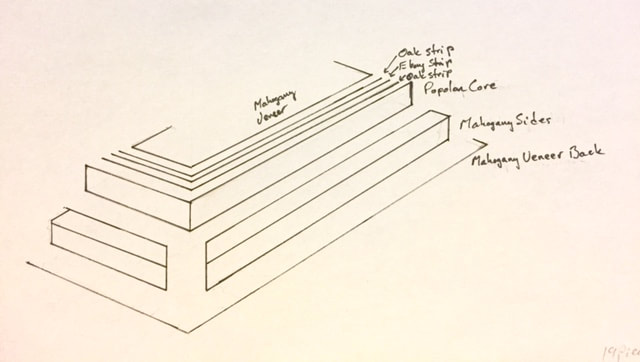
Window Side Trim Well a wooden car hides many surprises. You might think that this piece for the side of the window is a solid piece of Mahogany with a few strips inlaid for decoration. Wrong! There are 19 pieces of wood and veneer in this one assembly. I have made a simple drawing to show how it all goes together. There is a Popolar core with Mahogany veneer back and top with Maple and Ebony strips. The outside border is solid Mahogany. There are 27 windows in the car so I have 54 of these to restore or make new where the old ones are gone. The window headers are arched and built the same way. |
September 7, 2017 Update
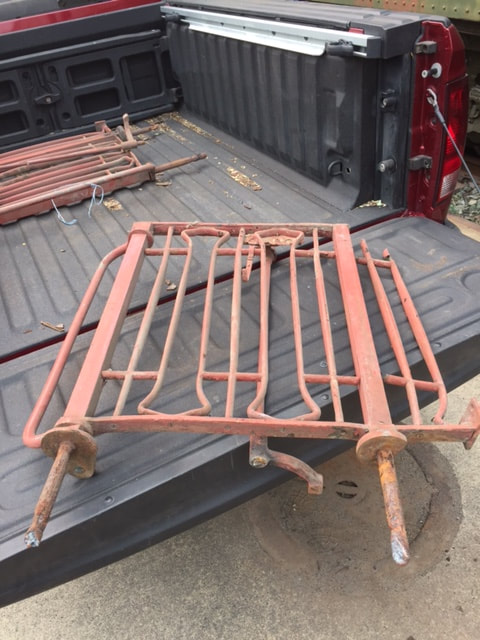
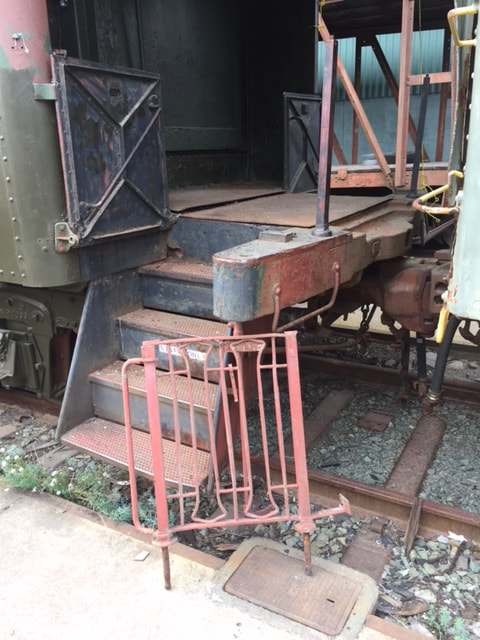
Two years ago we scrapped Great Northern 1057 and we kept a few pieces including the parts of the handrails that were left. They have been passed on to me for the restoration of the 1090 by the WCRA. These are the two outside pieces. I am still in need of the gates and the centre end piece. I might have to get castings made to duplicate the the centre parts that I do not have.
September 3-7, 2017 Update
September 1, 2017 Update
|
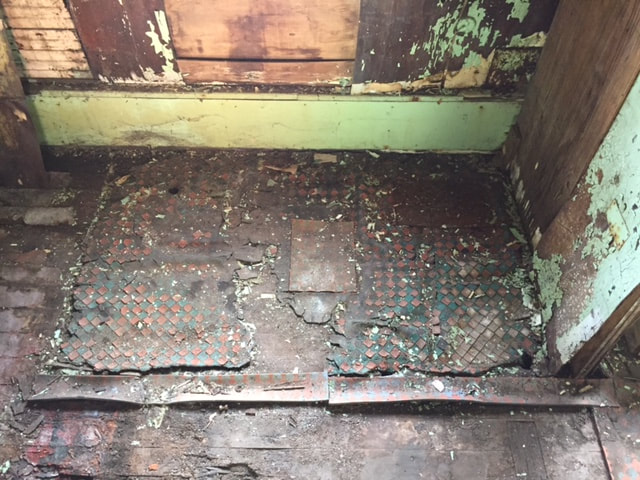
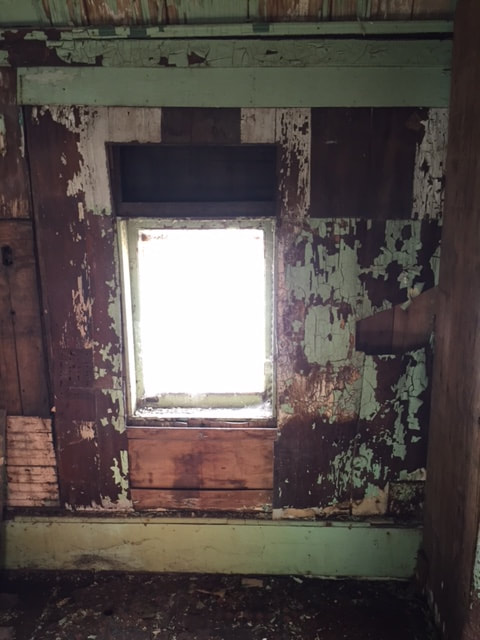
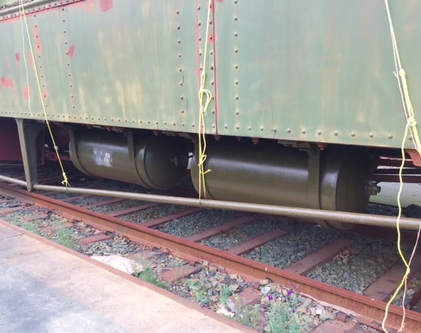
Between the main lounge and the smoking room on the car are the washroom and powder room. There are 2 full washrooms on this car. This is the ladies. On the other side of the car was a powder room as under the floor was the water tank so there was no place for the toilet to spill out to. The men's washroom was at the other end of the smoking room at the end of the car. On the washroom side the toilet spilled out onto the brake cylinder and brake valves. Remember there were no holding tanks on passenger cars then. There is not even enough room to get a honey pot up under there. I guess the washroom was closed when this car was parked at the station. I feel sorry for the carman who had to make adjustments to the brakes. To the right is a general view of the washroom space. The wall that you see sticking out into the car is the last original wall in the inside the car. The veneer is all coming off the walls due to the car being wet in the past. |
|
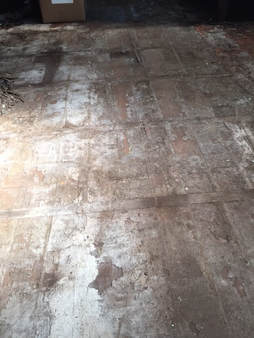
The floor ( Left) gives away the layout of the room. On the right side near the wall is a cover over the hole where the toilet was. on the left side against the outside wall is a small hole where the drain from the sink went. Not sure what the patch in the middle of the floor is for yet. The 1" diamond pattern lino is red and green in colour. |
September 1, Mystery
August 29, 2017 Update
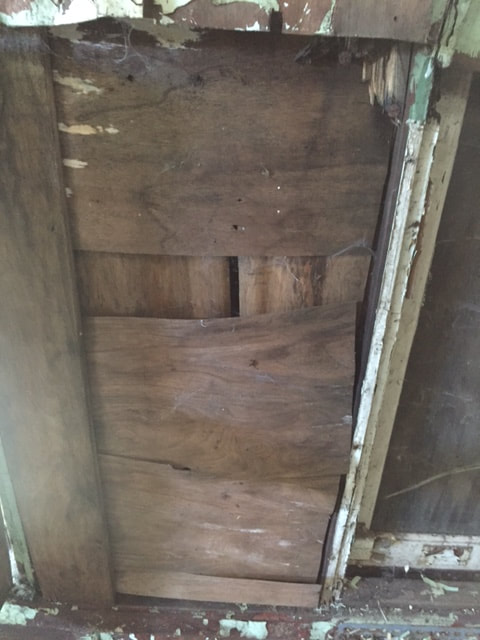
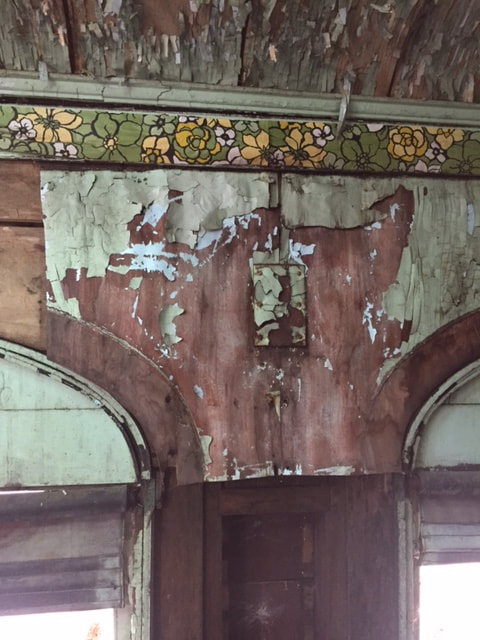
A little bit of detail this time before the photos. The walls are built out from the frame members of the car which are 3 1/2" thick from inside to outside. There is a change in thickness of the plywood that makes up the wall right at the top of the square part of the window where it starts to go round. The panels between the windows have a 3/16 shim piece of wood attached to the frame of the car before the plywood is applied. The upper panels are nailed straight to the frame. The panels between the windows are 1/2" thick core and double layer of veneer on each side and the panels beside and above the upper parts of the windows are 1" thick core and single layer of veneer on each side. The core of this plywood is popolar wood and the joins are not T&G but a lap joint. The veneer is mahogany for both single and double layer applications. The direction of the grain of the outer veneer is vertical throughout the car. The panels are all fastened to the wall in places where the screws and nails would come under a piece of trim. There are no nails or screws through the exposed surfaces of the plywood.
The outside skin of the car has 1" boards notched 1/2" to fit between the posts on the horizontal and where the posts are there are 1/2" boards over the posts to make the outside of the car completely flat before applying the siding. The V groove boards on the very outside are 3/4" thick and 2 1/4" wide including the notches. Like the cores of the plywood these are not T&G but lap joined.
All the windows in the car are double hung with sunshades which makes for a very busy sash and some complicated wood work.
There will be drawings for all of this but not till a rainy day.
|
The whole window with veneer removed for measuring.
The inner layers of veneer between the core and the frame of the car.
|
The panel between the windows showing the two layers of veneer with the outer layer being the layer that was finished and polished.
The single outer layer of veneer above the square of the window showing a cover where there was once a lamp.
The window sash ( left ) is very complicated. The windows are double hung with a sunshade. |
August 28, 2017 Update
|
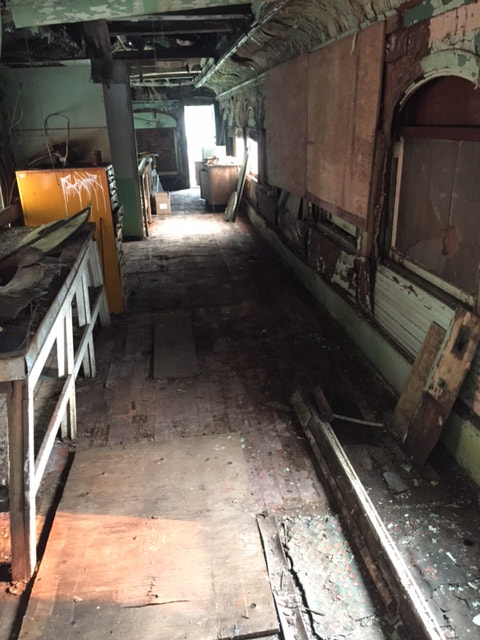
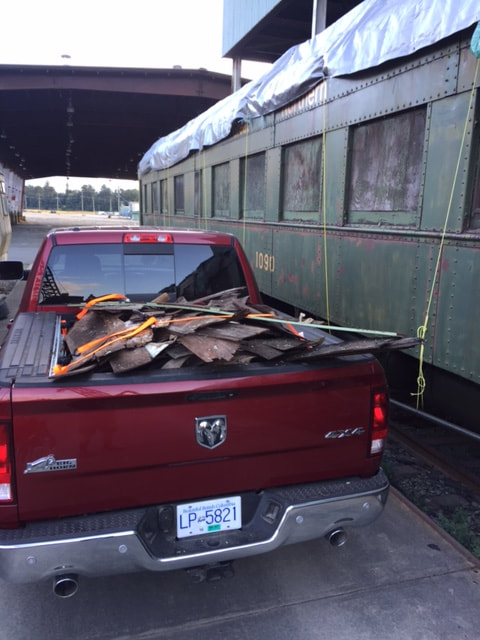
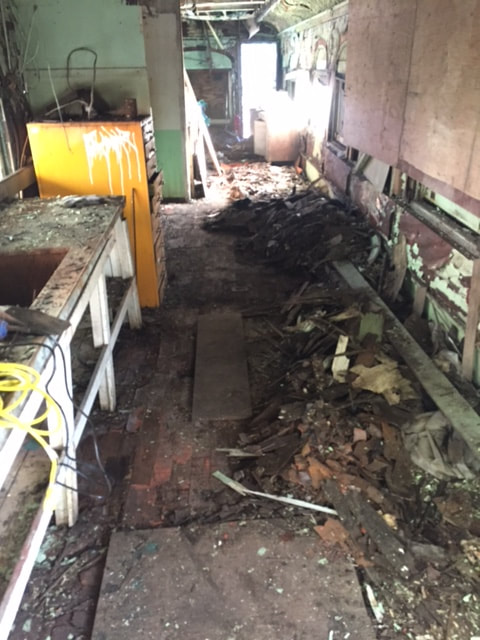
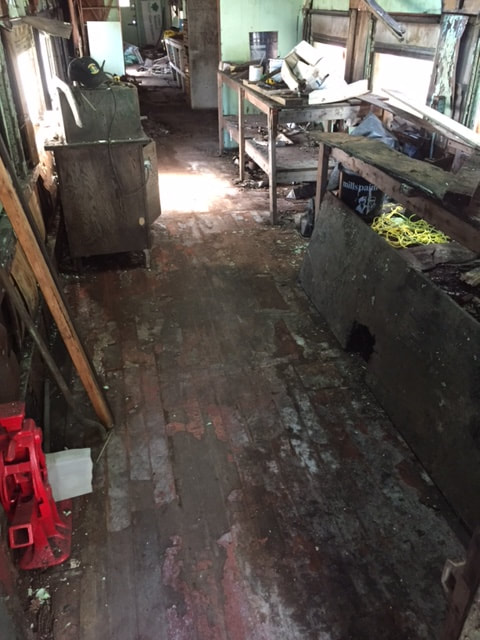
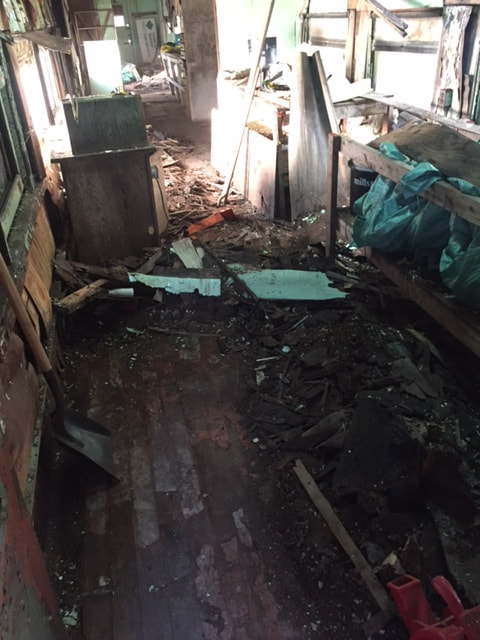
The big clean out has begun. I have been peeling back layers to do measurements and take notes on how the car is built. There was also a lot that had come down on its own over the years.
|
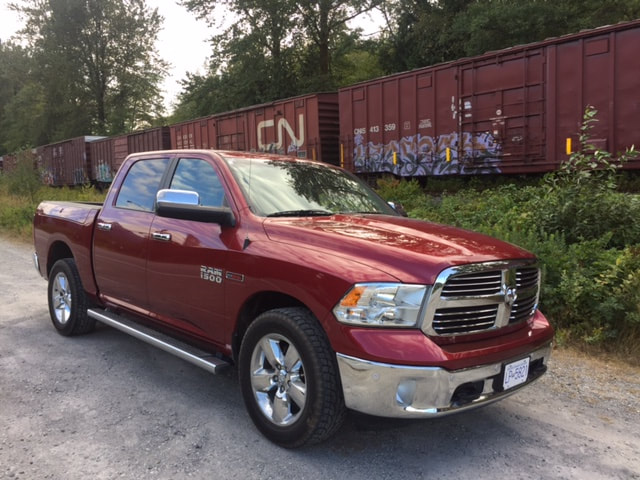
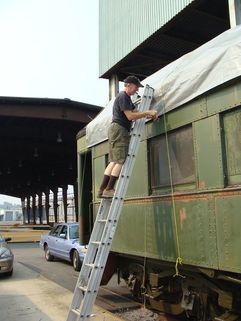
Yes I did get a better vehicle. It is a 2014 Dodge Ecodiesel. It is great for hauling stuff away and carrying my tools to where I need them. I can get in the car with a ladder now and get into the ceiling and start making notes as how that all goes together.
|
|
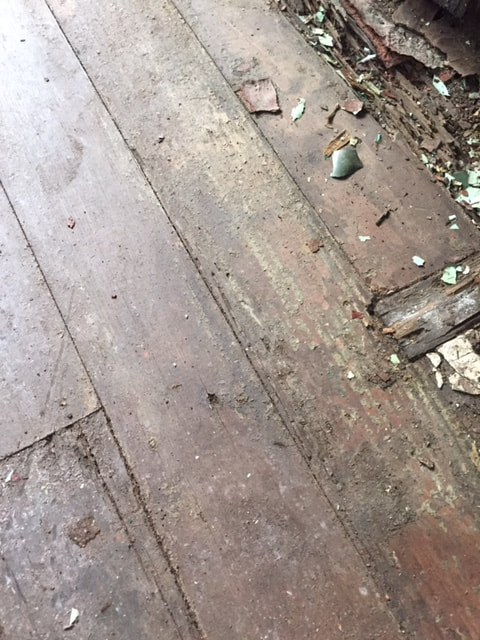
The floor (left) is 1"x4" lap going lumber in two layers. The lower layer is 45 degrees to the walls and the top layer is parallel to the walls. Under the flooring is horse hair insulation between the frame members. I had heard horror stories that some cars had concrete added to the floors to add weight. I am thankful that this one did not get that treatment.
|
August 10, 2017 Update
|
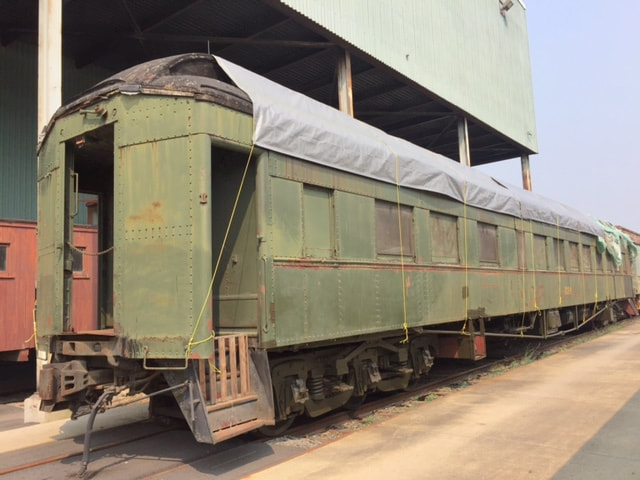
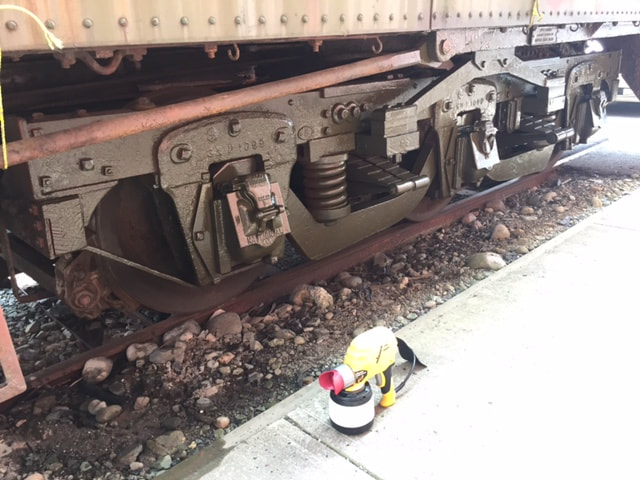
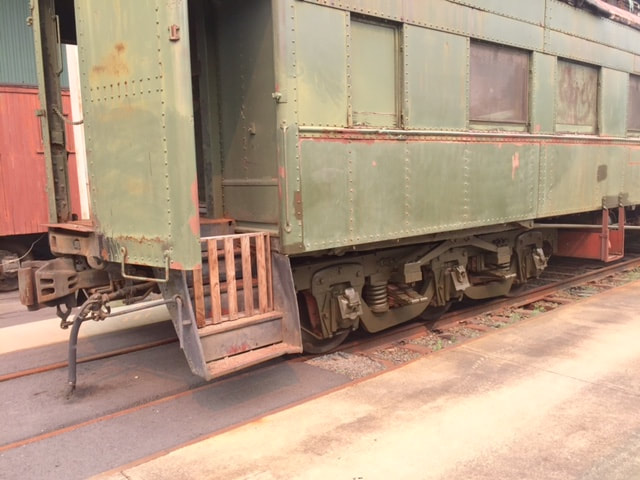
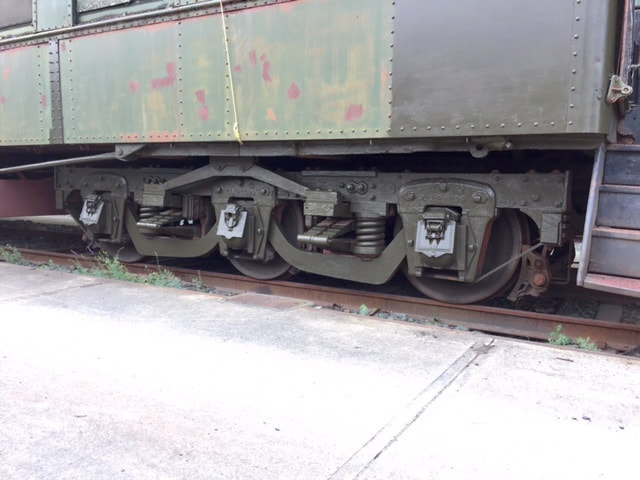
Put one more tarp up today and bought a new toy. I bought a Wagner airless spray painter. I spent all afternoon cleaning and priming the truck side frame and today with the spray gun, painted the green on in 10 minutes. When I was up on the roof I found a place where all the framing for the upper clerestory arched window frames is all still in place. Great for patterns. I was afraid all that had been ripped out. Sorry the photo is bad, the sun was just cresting the top of the car and straight into the camera. |
August 9, 2017 Update
|
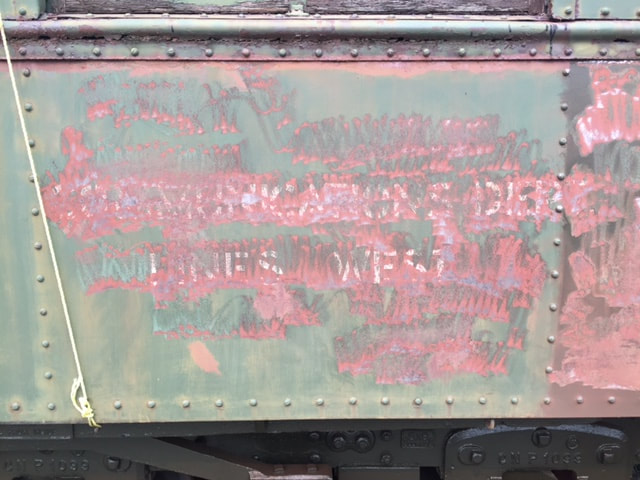
I bought new tarps to replace the ones the harsh winter last year tore apart. I started chipping more paint on the other side of the car and priming the cleaned areas. Great 2 for 1 deal on 4 1/2" angle grinders at Canadian tire this week. I picked up a pair and some flap wheels to start cleaning up the metal on the sides of the car. There is some pitting and bubbled paint which grinds away easily with the new tools. The primer goes on real smooth on the cleaned metal. Photo at right by Dave Heine |
August 5, 2017 Update
August 3, 2017 Pullman Green
For those who were following my work on the GN 1090 restoration project last year, it was held up by a death in the family and I was the executor of the estate, a job I would not wish on anyone.
I am back on the project and am getting some painting done while the weather is good. I found a great Pullman Green paint chip from the car and had it scanned and this new paint is the result.
Proudly powered by Weebly
